
IKEA BOOKCASE HACK
Note: This post contains affiliate links and I may earn a small commission if you choose to shop through my links.
Please keep in mind that the price + availability of items featured within the post may change after publish date
the BEFORE
Woof.
That fireplace.
That ceiling fan.
That large, looming soffit that weighed down our ceiling, created awkward angles and added bulk to the otherwise airy room.
From our very first showing, I knew that this house had tons of potential but that we had to invest in renovating some the above elements in order for it to truly feel like our home.
After giving our fireplace a much-needed facelift and installing a statement-making chandelier, we turned our talents to that, for lack of better words, AWKWARD wall.

This wall was tricky from the start.
The hefty soffit jutted out into the space, taking up square footage and creating an out-of-place enclave. Beneath the lowered ceiling, the wall was littered with an array of both covered and operating light switches and outlets that suggested that the wall had, at one point, featured an opening to a room in the ultra-dark “office” in the front of our house.
I decided to research our floor plan and found that our suspicions were, indeed, correct. There was an opening at the center of the wall that connected the two rooms and allowed our great room’s wall of windows to drench the front of the house with light. This revelation also explains why the ultra-dark “office” has no overhead light fixture and feels like a cave at all times… but, per usual, I digress.
Did I mention that I didn’t find out that there was a built-in (covered) opening there until after we’d already started constructing our actual bookcase? Because I didn’t and at first, I was a smidge frustrated because that open concept situation would have opened up the entire first floor our home. I lamented about this to my dad and Joey as they were literally cutting all the wood, trim, etc and they promptly shut-down any, small fantasy I had about opening up the wall.
Which, I mean, fair enough.
The good news? I’m beyond grateful that they did because this Ikea bookcase is everything. Ever-y-thing.
We’re talking character for days, people.
the PLAN
Clean, classic and timeless. These are the words that jumpstarted our bookcase project. (And every other design decision in our home, right?)
I knew that, because the wall we planned to tackle flanks the fireplace wall, it was important that our built-in bookcase visually complemented our traditional mantel.
Equally crucial? That the bookcase did so without taking away from the fireplace, which serves as the true focal point in the room.
And while I’m a true, “more-is-more” kinda gal, I knew that installing opulent molding, ornate trim or a textured shelf backing (looking at you, grasscloth wallpaper) would instantly draw the eye, create visual clutter and ultimately detract from the fireplace completely.
Not the goal.
My vision was an understated and elegant bookcase that spanned the width of the entire wall behind our sofa. Not only would this eliminate the awkward gap and angles, but the bookcase offers endless styling opportunities for me to play with years to come.


TOOLS + MATERIALS
Billy Bookcase
Tape Measure
Level
Stud finder
Table saw
Miter saw
Electric Drill / Screwdriver
Caulk
Wood Filler + Putty Knife
Sanding Blocks
Clamps
Nail Gun
Hammer
Flat Head Screwdriver
Protective Glasses
Protective Gloves
Valspar High-Gloss Paint in “Ultra-White”
the PROCESS
The step-by-step process we used to install our built-in bookcase is broken down for you, below. The steps are summarized and you may notice that I didn’t go into great detail describing the logistics of prepping our wall for the install or how some of the tools listed above were used for this project. I chose to keep the steps as general and straight-forward as possible for this guide because, honestly? Each home is different and will require a completely unique approach and personalized measurements to recreate the same results featured here.
That said, if you have any questions about literally anything involved in this process — please, reach out to me! I’m beyond happy to share the specifics, track down answers to your questions and help out in any way that I can with your project.

1. CREATE A LIFT
Joey and my dad created a wooden platform using 2x4s that ran the width of the wall. The wooden platform both secured the bookcases to the wall and provided a necessary lift for 4 Ikea Billy Bookcases (31 1/2 x 11 x 79 1/2) so that they sat flush to the soffit ceiling and created an overall seamless look.

2. BRIDGE THE GAP
From there, we used a crisp-white casing to disguise the wooden platform at the base and 1 x 8 boards to bridge the gap between the 4 Billy units and give the bookcase custom, built-in appeal.

3. INSTALL SHELVES
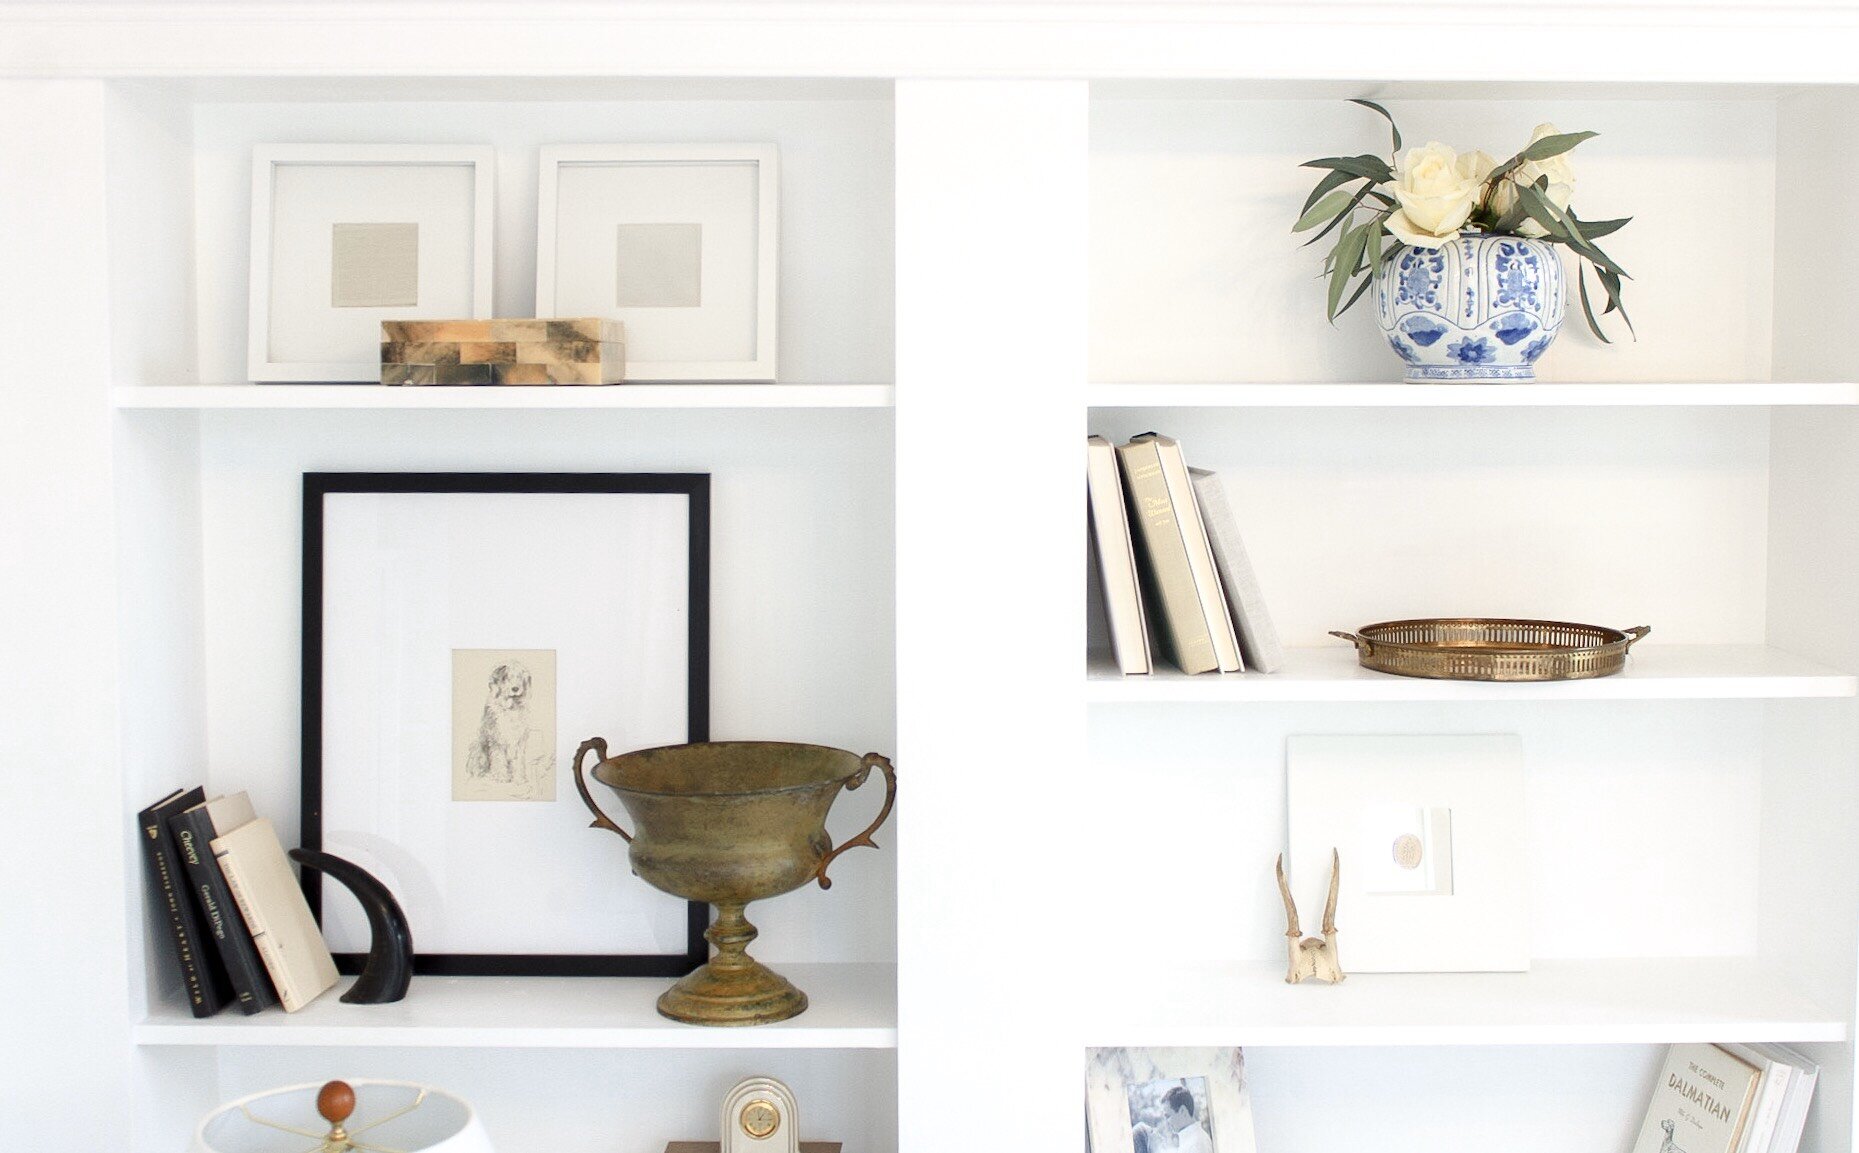
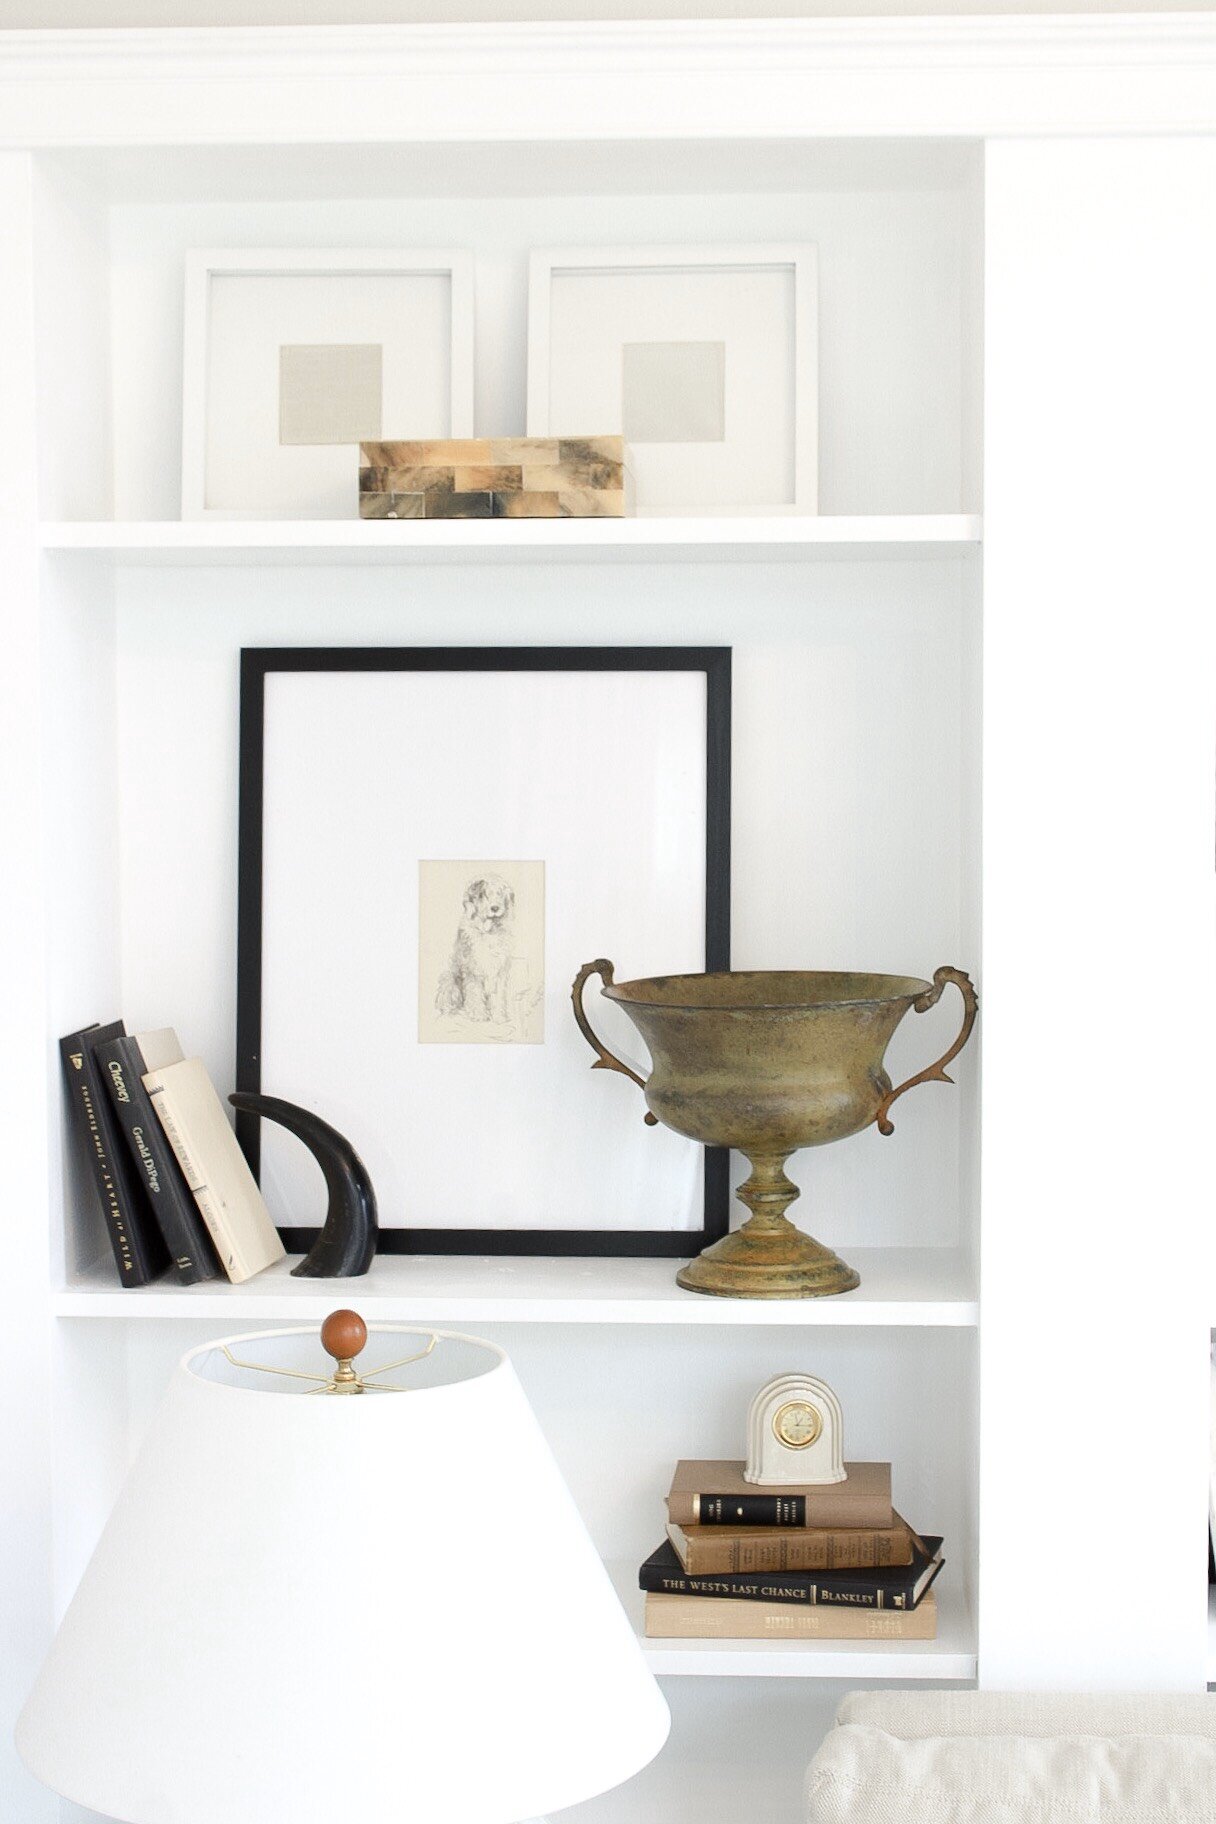
Next, I installed the shelves within the units using the provided hardware from Ikea. I purposefully left out the second shelf on the outer two bookcases to create a large gap to display large, framed art and fresh floral arrangements, alike.
I installed the shelves on the inner two bookcases at an even distance for a traditional, library bookcase appeal.

4. HIDE THE HOLES
Once the shelves were positioned to my liking, Joey used DryDex spackling to fill in the small holes that lined the interior side of each unit. After allowing the plaster to completely dry, Joey used a sanding block to remove the excess product and reveal a smooth, solid surface ready for paint.
This small step made a huge visual impact on the bookcase that I feel elevated the feature from looking DIY to high-design.

5. PERK-UP WITH PAINT
We crowned the bookcase with a simple, traditional moulding and painted the bookcase with 3 coats of the same, Valspar Ultra-White, high-gloss finish paint used to finish our fireplace and staircase balusters.
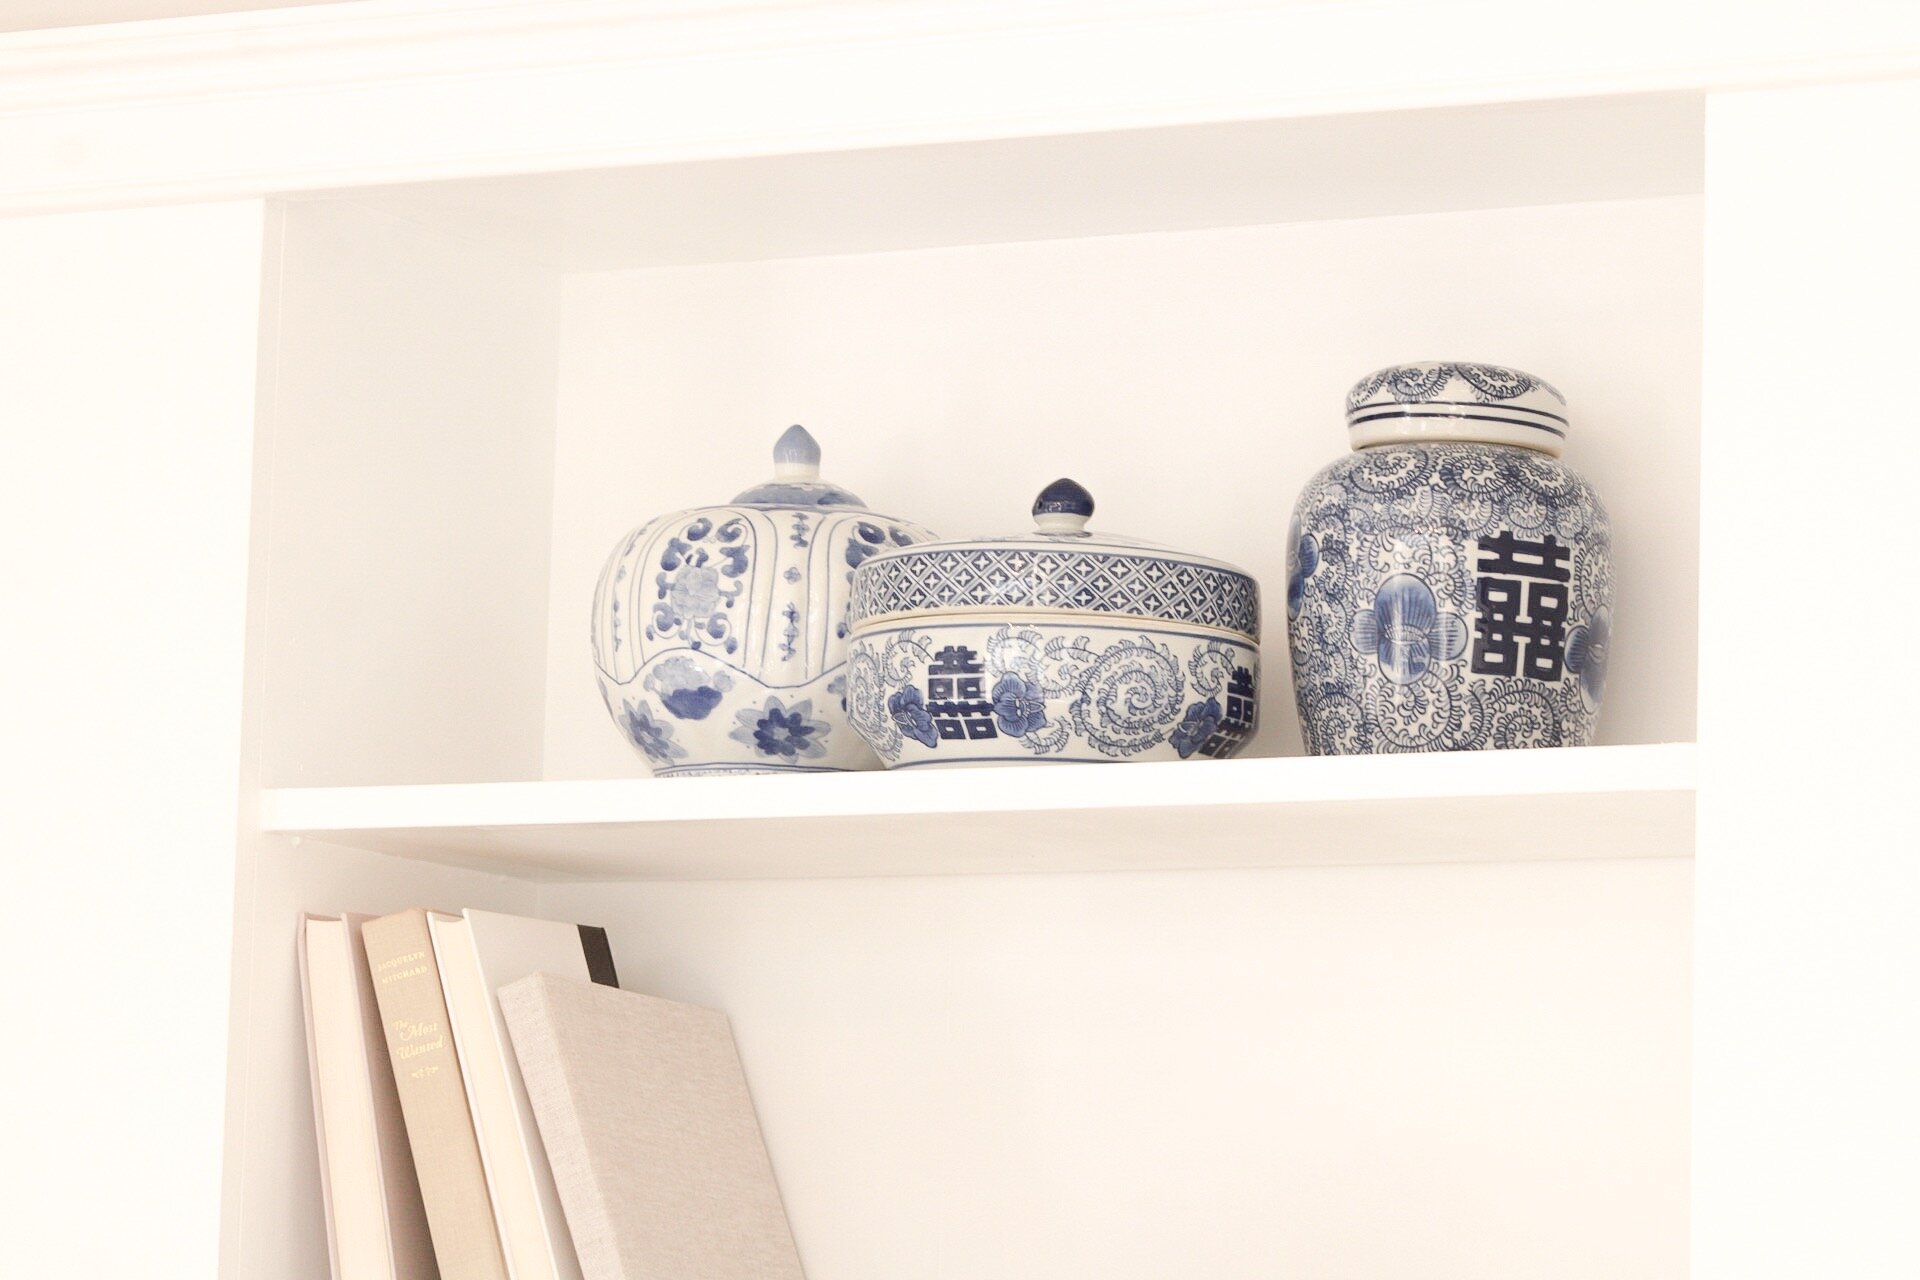
the AFTER


shop the post
